Transportation of 1.5” Scale Equipment – Even More Options
Continued from More Options
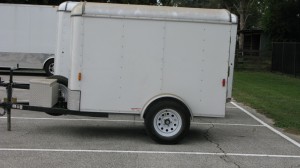
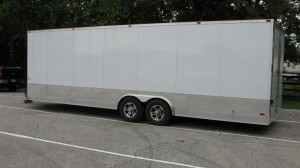
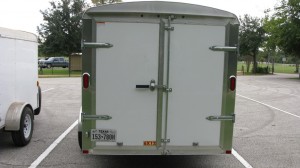
Of course as time went on, when I went to a “running” meet, I was envious of those that were able to bring additional cars for a full train. As I looked around, the most common solution to this need was a trailer. Trailers are a very popular solution for carrying our rolling stock. They are available in small, (photo 10) and large (photo 11) sizes. My experiences with trailers led me to an opinion that trailers provided many undesirable features.
It is important to consider your needs prior to trailer purchase. These things might include:
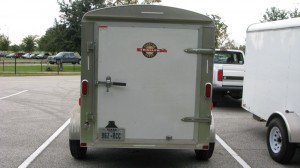
- Full open doors rather than a ramp door. (photos 12 & 13)
- A front door or significant roof vent
- Closed or open trailer design
- One or multi level storage
- Sized to fit the desired number of rolling stock
- Trailer design–brakes, axel number, tongue weight, overall weight capacity.
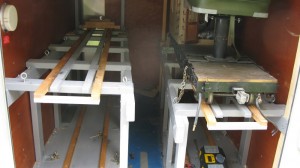
I decided on an enclosed 8’ trailer. I built a rack for four cars (photo 14) leaving room in the center to enter along with some storage area in the front. I added a spare tire and wheel, a jack, locks and chain and a license. My initial usage made it quite clear that trailers tend to “bounce” and have some back and forth “jerky” motion. It is critical to have very good hold downs in trailers to prevent loose movement. Items will move, and loco bodies will jump up off their frames. Loads in gondolas and flat cars will often end up on the floor. I found that damage to the rolling stock was highest with trailers. It is also concerning that trailers are fairly high on theft lists and should be chained or stored in a safe area.
My personal main dislike was loading and unloading trailers. Backing a trailer at some tracks is difficult. Some occurrences within trailers are not obvious until arrival at the track. They include collapsed racks, loose rolling stock, flat tires, hot bearings and trailer light malfunctions. The two step loading and unloading process with a trailer and pick up truck was difficult and caused me to change my transportation option.
| Advantages | Disadvantages |
| Additional number of rolling stock | Rough riding–damage |
| Economical solution | Two step load/unload with pick-up truck |
| Flexibility in usage | Backing in tight areas |
| Location of trailer storage | Large trailers need large pick-ups, (fuel economy, rough ride) |
| Most can be pulled by ½ ton pick-up | Low to ground–loading height |
| Trailer storage (security) | |
| Open trailer–tie downs, cover | |
| Theft | |
| Critical hold downs | |
| Trailer maintenance | |
| Must choose between trailer or camper |
ANOTHER OPTION
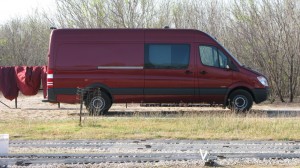
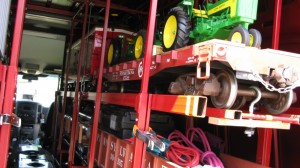
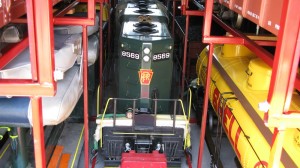
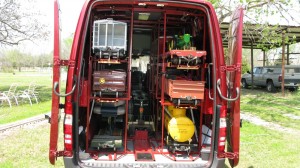
At a meet in Ohio, I noticed that van transports out numbered trailers. I also noticed that even without stacking, the numbers of rolling stock were much greater than with pick-ups or trailers. If you don’t need a large pick-up for other reasons, or you don’t mind an additional vehicle, van transportation makes a lot of sense. They are a self contained stand alone vehicle. They can be adapted to carry many pieces of rolling stock and are flexible as to what is transported. So called step vans come in all sizes, heights and capacities. Think of UPS, DHL and FedEx. In most cases, the cost of a step van is less than a large pick-up truck.
I wrote down my needs. I wanted capacity to carry an “operation” train with riding cars, work gondola, cabin car and a spare locomotive. I also wanted the flexibility of a 12-15 car train for “running meets”. Other needs were a comfortable ride, low noise level and reasonable miles/gallon. Safety and protection from the load was important along with easy access to both the load and driving. Loading and unloading had a minimum requirement of 5 ft. from the ground. Last, but not least, there had to be storage for luggage, tools, hold downs, cleaning and lubricant fluids, small parts, electric box and a 24V charger.
After considerable looking and checking, I decided that a Sprinter would fit my objectives. It has a reputation for hauling extra weight; it is built by Mercedes Benz; and it is available with many options and colors. I have operated the Sprinter for 18 month, and to date am very happy with the decision. The choice for a specific Sprinter proved to be difficult. The vans are used all over the world by many groups. For this reason, the option list is very long. I opted for a 2500 series Cargo Van with a high roof and a 170” wheel base (photo 15). I did not buy the extended version as the payload weight is reduced. All models are powered by a Mercedes Benz V6, 188 HP diesel engine. The following options were chosen: Basic Premium Package (lighting, AC&DC outlets, adjustable seats, etc.), Rear Step, Running Boards, Side Door, Floor Mats, 12V to rear, Rear Lights, best radio, and Rear Camera. I was able to keep the vehicle under $50K.
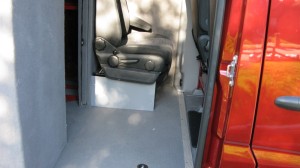
My first construction effort was to build a double ¾” plywood wall between the load and driving compartment. I covered the walls with noise insulating material. A double pocket door allows access to the rear for securing rolling stock and the charging of a locomotive. A third removable seat was supplied, but seldom used (photo 16). The location of the wall was determined by insuring the correct length needed was available at the rear. Building the rack was a real lesson in measurements. I actually built it entirely prior to receiving the vehicle. Because I am comfortable with models, I built it like a model. I started with a scale drawing and created a step by step list aimed at completion.
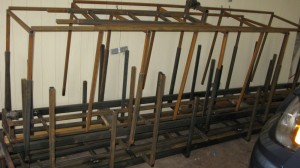
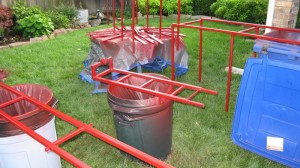
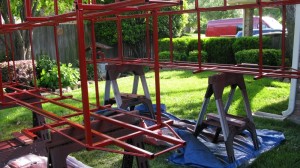
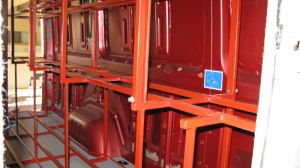
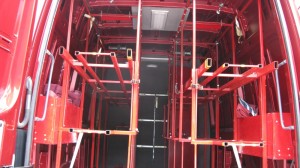
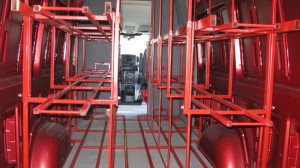
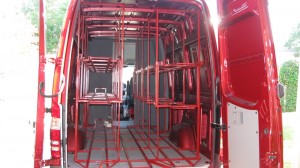
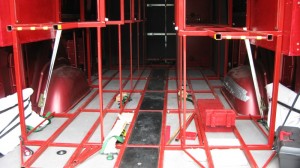
In design, it was important to put the heavy items on the bottom. This included locomotives and riding cars. These are also consistent in width which helps with the available room between the wheel wells. The second level was reserved for the lowest cars (gondolas, flat cars). This keeps the third level as low as possible and the second level at 55”. The third level accommodates box cars, stock cars and reefers. Other cars are loaded as they fit. With drawings completed, the next step was to create a cut list for the steel. The steel cost was about $500 and consisted of 1” square tubing, 3/4” square tubing, 1X2” tubing and 1X1/2” flat. With all parts labeled, the welding was done. The rack was built in three main sections (photo 17) left, right and bottom center section. All welded sections were primed and painted (photos 18 & 19).
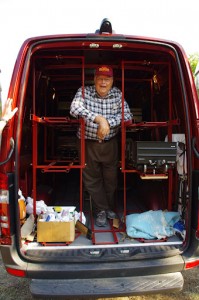
In order to achieve the loading height limits at some tracks, the top level on each side was designed to cantilever out and down to the height of the second level (photo 20). This approach was used so that steel legs are part of the structure at all times rather than cables alone. Small, 2000 lbs., 12V winches (photos 21 & 22) are used to raise and lower the top levels. Because of the cantilever design, a single pin is all that is needed when in the up position. To remove the rack from the Sprinter, four bolts are removed from the lower center section (photo 23). When the center section is removed, the two outer modules can be slid out.
Once the rack was finished, I added some details that completed the package. A storage cabinet was added in front of the right rack and storage boxes were added on both sides (photos 25 & 26). Also, clothes hangers for coats, etc. were added along the interior walls. Finally, the Sprinter has given me the flexibility I wanted. Twelve full size cars and a locomotive (photo 27) provide a great train. The use of shorter cars has allowed up to fifteen cars to be transported. The vehicle handles the loads well, and long trip mileage has hit 19 mpg.
My thanks to Jack Haskins’s shop and John Walton for ideas and lots of support! Any one interested in additional help regarding the above transportation options, please feel free to contact me at arrjerry@aol.com (photo 28).
